
Aside from being one of the most sought after exotic tropical fruits due to its delicious pulp, the mango is considered one of the ‘super fruits’. Packed with all of the vitamins, minerals, and antioxidants that our body needs – the mango is perfect to dehydrate and make into fruit snacks and leathers, giving you food stocks for months!
HARVESTING & PREPARING THE MANGOS
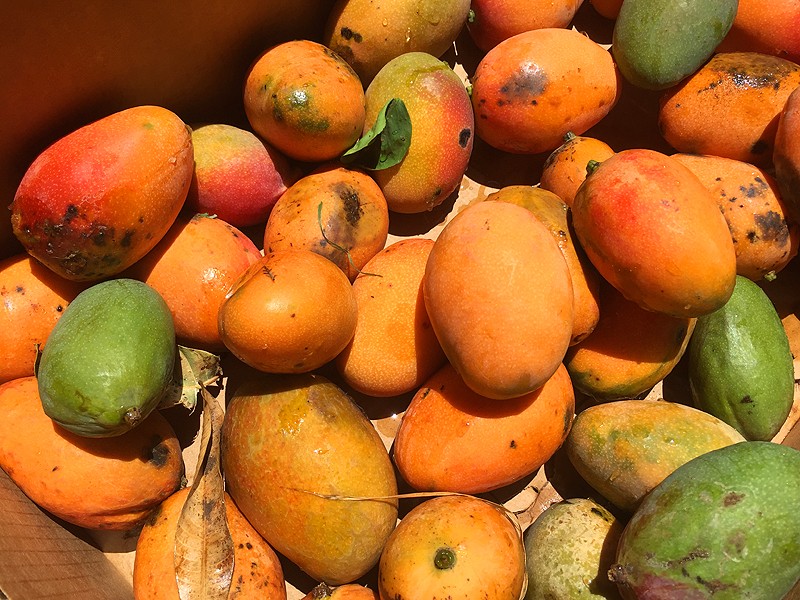
STEP 1 – Harvest mangoes and thoroughly wash them
If you have a mango tree, pickup any from the ground and on the tree that are ripe.
To tell if the mango is ripe, squeeze the mango gently. A ripe mango will give slightly.
It’s also important not to focus on color, as it is not the best indicator of ripeness. Always judge the ripeness of a mango by how it feels.

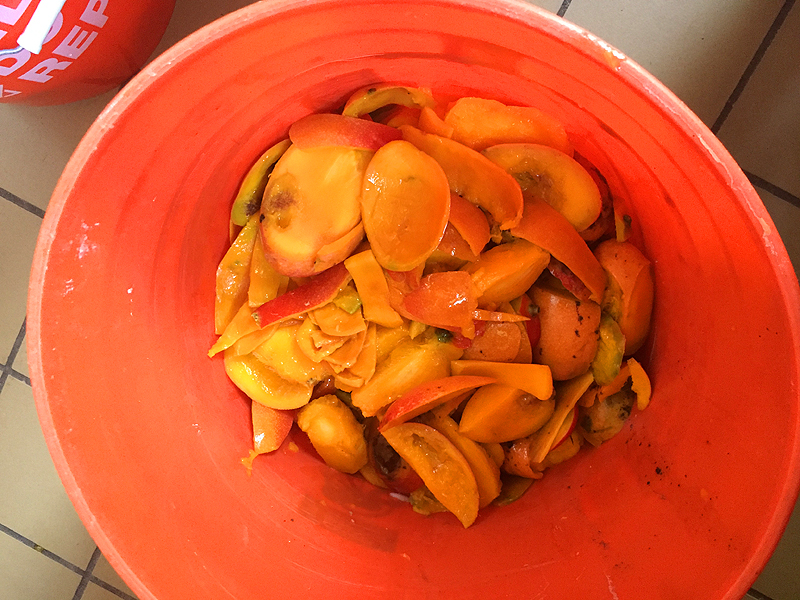
Once you have harvested all of the ripe mangoes, place in a bucket and then thoroughly wash them, making sure to wash off any dirt or grime.
STEP 2 – Carefully slice around the pit of the mango
Once the mangoes have been washed, they’re now ready to slice.
The best way to slice a mango is to cut along the sides of the pit, separating the flesh from the pit.

Holding the mango with one hand, stand it on its end, stem side down. Standing the mango up like this you should be able to imagine the alignment of the flat, oval pit inside of it.
With a sharp knife in your other hand, cut from the top of the mango, down one side of the pit.
Then repeat with the other side.
You should end up with three pieces: two halves, and a middle section that includes the pit.

DRIED MANGO SLICES
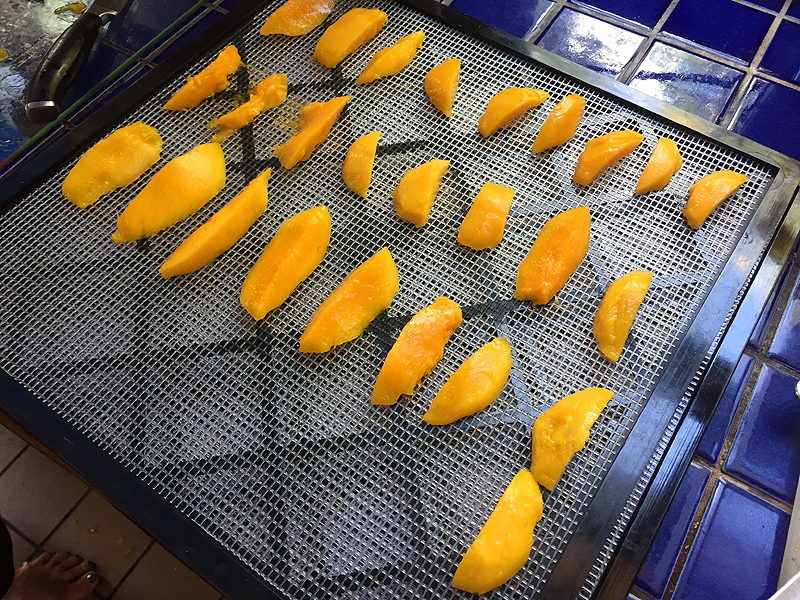
STEP 3 – Cut the mango in to smaller pieces
Now that you have 3 pieces, slice the mango lengthwise in to smaller pieces with a knife, away from the skin.

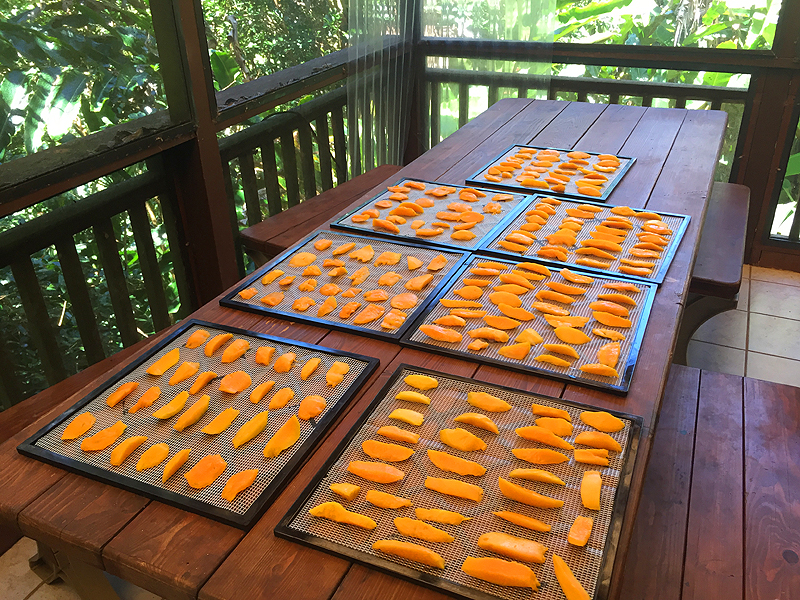
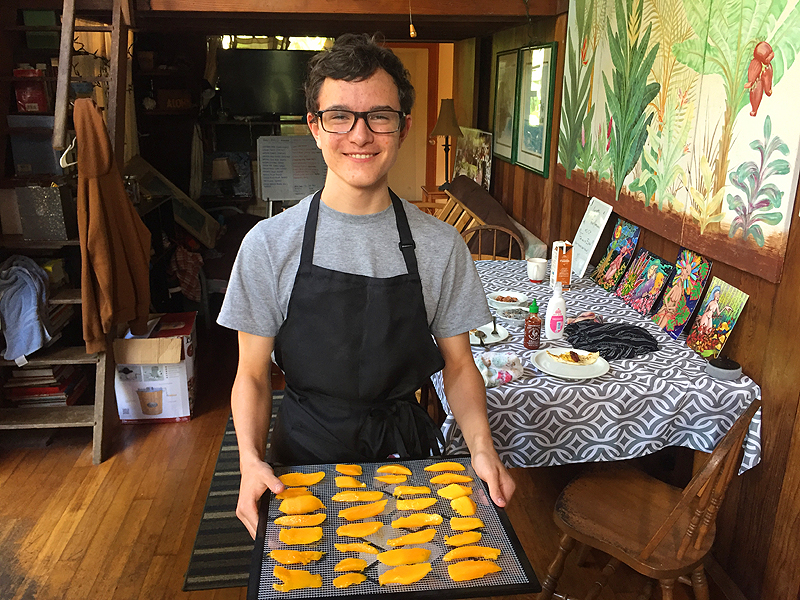
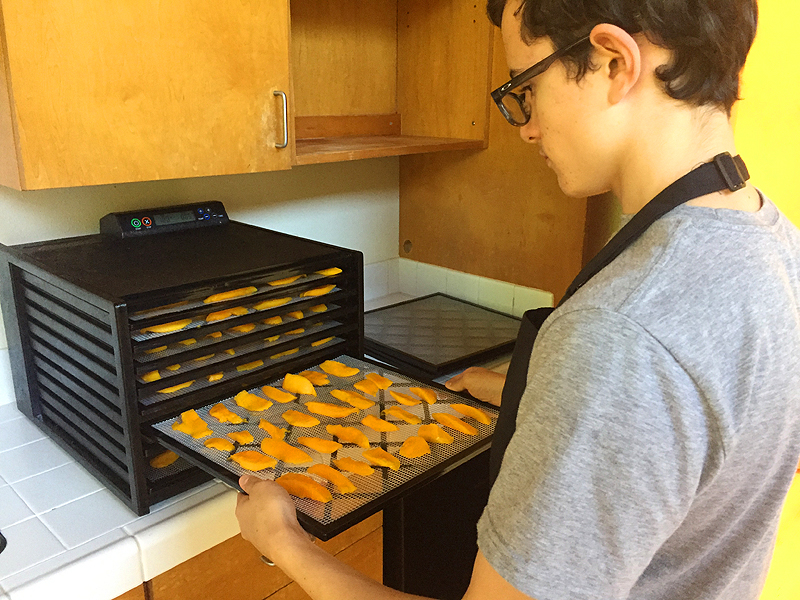
STEP 4 – Place slices on to dehydrator screen
Carefully place the slices of mango onto the dehydrator screen, making sure they are separated and there is enough space between each one.
By the end of all of the peeling from your harvest, depending on quantities, you should have filled up several screens, ready for dehydrating.
FRUIT LEATHERS
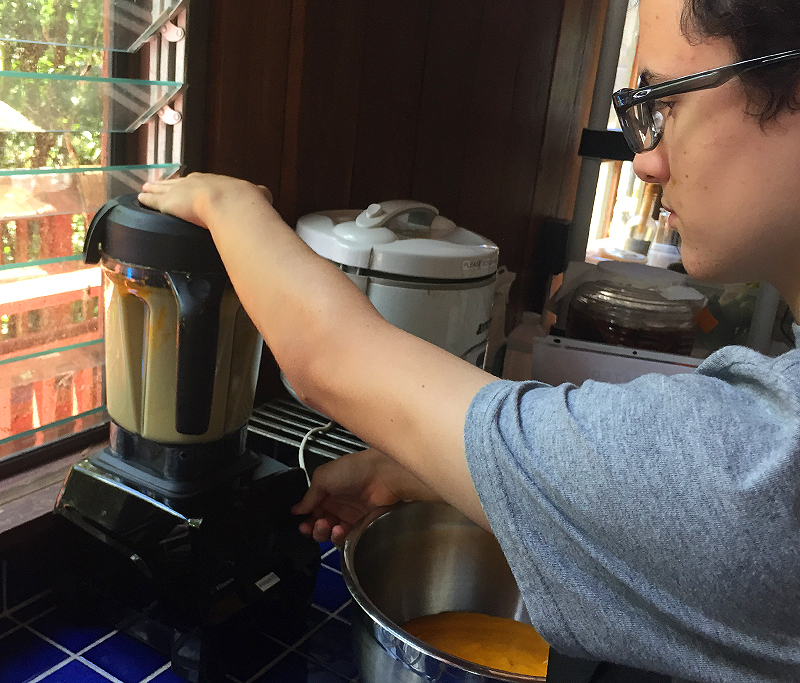
STEP 5 – Scrape excess mango and place in blender
If there is any excess mango around the skins and on the peels, scrape it off with a spoon.
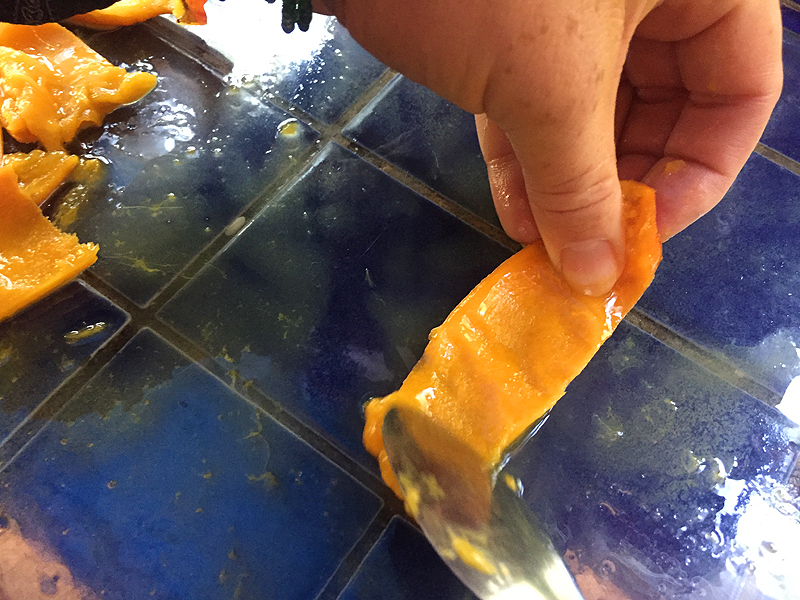
Then, place it all into a blender.
The idea being to get as much use out of the entire mango as possible, so nothing goes to waste and we can make both dehydrated mango snacks and fruit leathers at the same time!
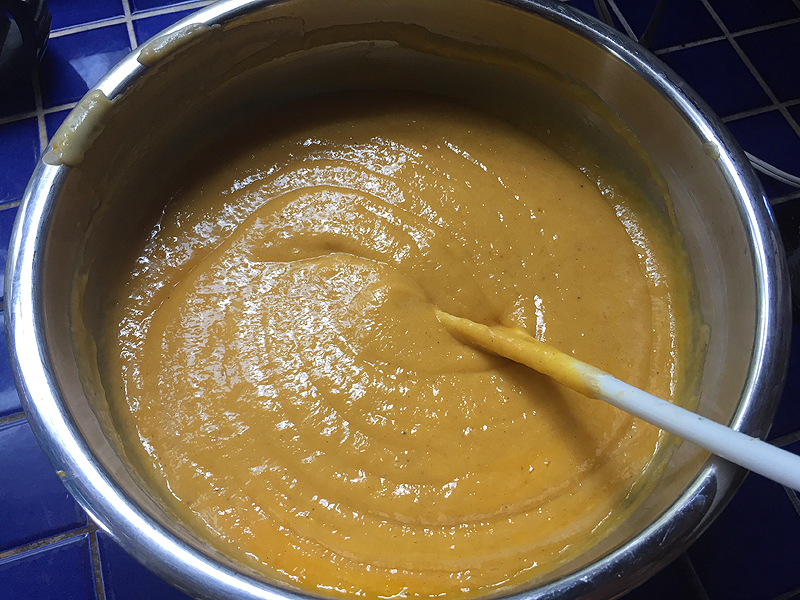
STEP 6 – Blend the mangoes and any other fruits
Then blend the excess mango mix together, along with any other fruits that you desire, to make a fruit leather.
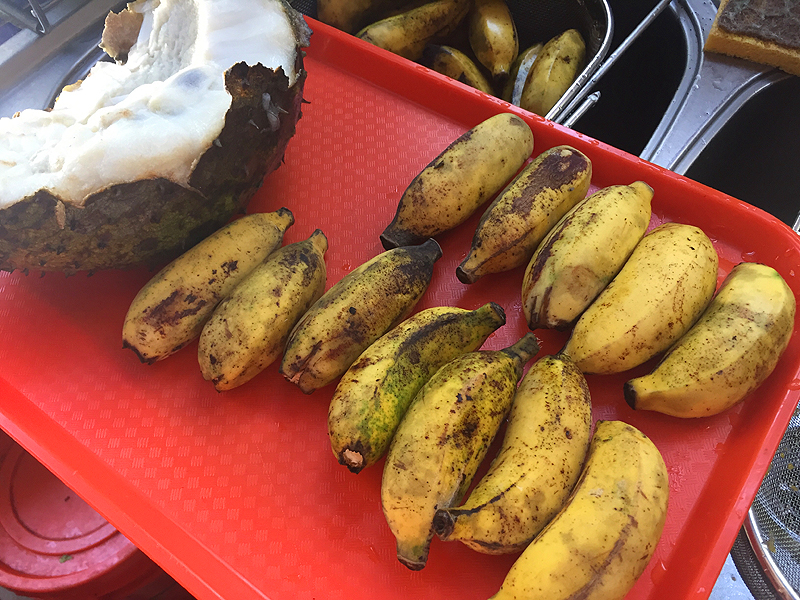
For our fruit leathers, we have chosen to add organic bananas, star apples, and soursop that are currently in season to make the fruit leathers even yummier! Get creative and add whatever you feel inspired to!
Blend the mangoes, as well as any other additional fruit, on a medium setting until fully blended.
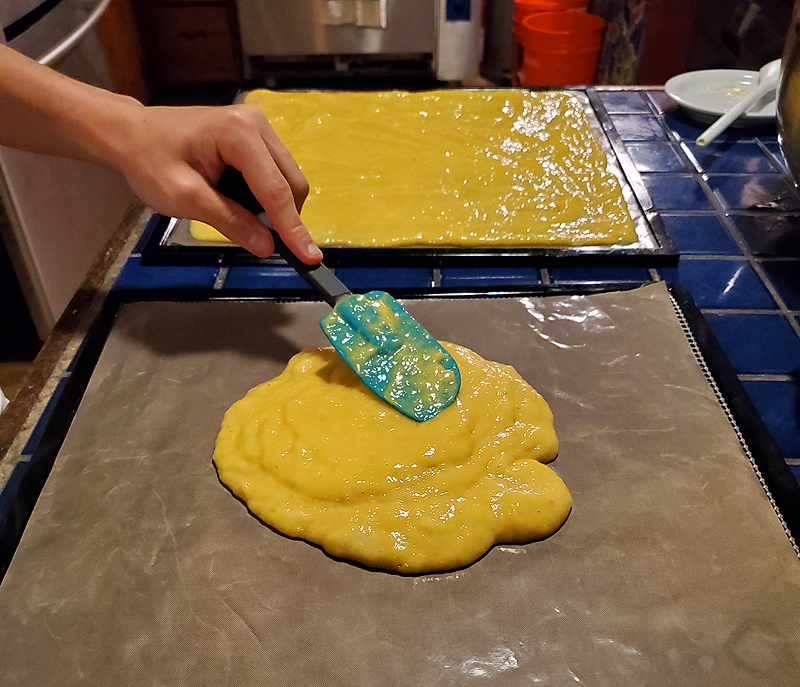
STEP 7 – Place blended fruits on to dehydrator screen
Carefully spoon out the blended fruits on to the dehydrator screen, making sure it is smooth and even, to make it in to your fruit leathers.
LEFTOVER FOOD
Any leftovers can be food for chickens (if you have any)
Any leftover skins or waste can be put in a bucket, to use as compost, or as additional food for chickens or any other birds or wildlife that you have that would eat it!
Sustainability is all about making the most out of every bit of fruit that you can, for all of us to enjoy, even our feathered friends!
DEHYRATION
STEP 8 – Set Dehydrator between 95-100
Now that you have the mango slices and the fruit leather on the screens, carefully place it in your dehydrator.
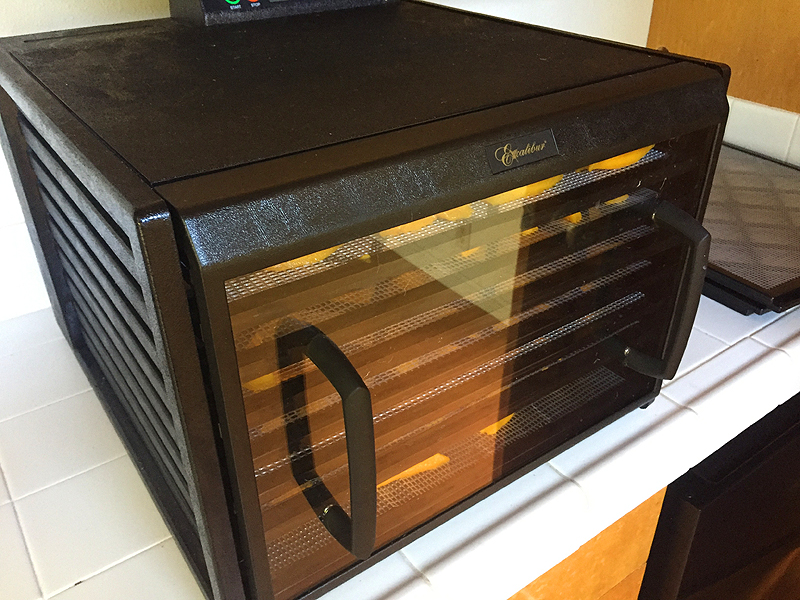
In this example, we are using an “Excalibur” 9 Tray Dehydrator which can retail anywhere between $220 – $350. When searching for the perfect food dehydrator, it is ultimately important to seek a machine that will best fit your needs.
With our model, we have set the dehydrator between 95-100 °F, which we’ve found is the best for good vitamin retention.
STEP 9 – Dehydrate for 12 Hours
Dry the mango slices and the fruit leathers in the dehydrator for about 12 hours – although keeping in mind this can vary, depending on the sizes of the mango slices, the thickness of the pulped fruit for leather, and the make and model of your dehydrator and how dry you like it!
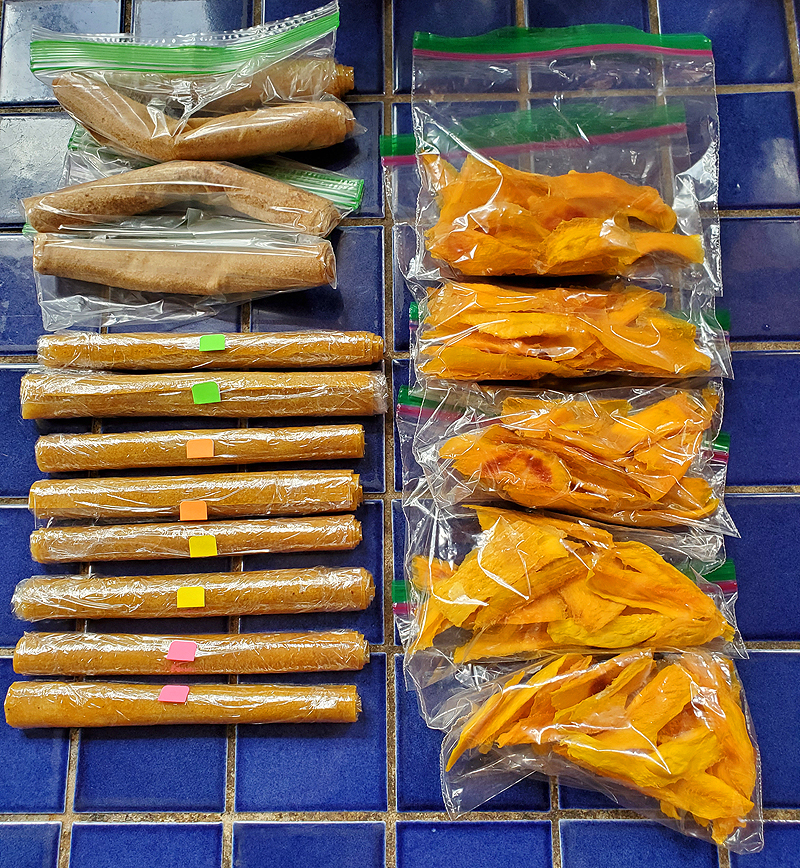
PACKAGING & STORING
STEP 10 – Place in Plastic Bags and Store for Months!
Now that your dehydrator has finished drying the slices and the leathers, separate and place them in to bags, storing them for months. Mango slices and fruit leathers are the perfect, healthy snack for your whole family to enjoy!
JOIN THE SUSTAINABILITY MOVEMENT To learn more about how you can become sustainable, get involved with the Mālamalama Sustainability Center by signing up for our newsletter on our website at www.malamalama.org or by emailing us at info@malamalama.org.

La explicación y las fotos se entiende bastante bien. Y se ve delicioso muchas gracias